The first hour with your new axolotl determines whether you're starting with a healthy, stress-free animal or one that's already dealing with temperature shock, pH stress, or immune system compromise. Most new keepers rush this step and pay for it with weeks of health problems that could have been completely avoided.
Why Proper Acclimation Matters for Axolotl Health
Axolotls are cold-blooded amphibians with permeable skin that absorbs water parameters directly into their tissues. When you move an axolotl from shipping water (or store tank water) into your established aquarium, you're potentially exposing it to different temperature, pH, hardness, and mineral content. These changes trigger stress responses that suppress immune function for days or weeks.
Temperature differences above 2°F can cause thermal shock. pH swings greater than 0.3 units stress the axolotl's osmoregulatory system. Sudden mineral content changes affect gill function. The drip acclimation method addresses all three simultaneously by allowing the axolotl's body to adjust gradually over 60-90 minutes rather than instantly.
Before you even bring your axolotl home, your tank should have completed a full nitrogen cycle and maintained stable parameters for at least one week. Check our Cycling Your Axolotl Tank guide if you're still in setup phase. Your target water temperature should be 60-64°F, which may require a chiller depending on your room temperature—see Axolotl Temperature Requirements Chillers for specifics.
Before You Start: Required Supplies and Tank Preparation
Gather these items before your axolotl arrives:
For acclimation:
- Clean bucket or → Shop plastic specimen containers on Amazon (2-3 gallon capacity)
- → Shop aquarium airline tubing on Amazon (at least 6 feet)
- Small adjustable valve or knot to control drip rate
- → Shop digital aquarium thermometer on Amazon
- → Shop aquarium water test kit on Amazon
- → Shop fine mesh aquarium net on Amazon
Tank verification checklist:
- Water temperature 60-64°F (measure with thermometer, not hand)
- Ammonia 0 ppm, nitrite 0 ppm, nitrate under 20 ppm
- pH 6.5-8.0 (axolotls tolerate range but avoid extremes)
- Dechlorinated water aged at least 24 hours
- Filter running but set to gentle flow
- Hides and decorations in place
- Lights off or very dim
Test your tank water and the shipping water separately. You need to know what gap you're bridging. Write down the actual numbers—don't just look at the colors and assume "close enough."
Step-by-Step Drip Acclimation Process
Step 1: Float the container (15 minutes)
Turn off all tank lights. Place your axolotl (still in its shipping bag or container) directly in the aquarium water. This equalizes temperature without changing water chemistry yet. Check temperature every 5 minutes. When the container water matches your tank temperature within 1°F, move to step 2.
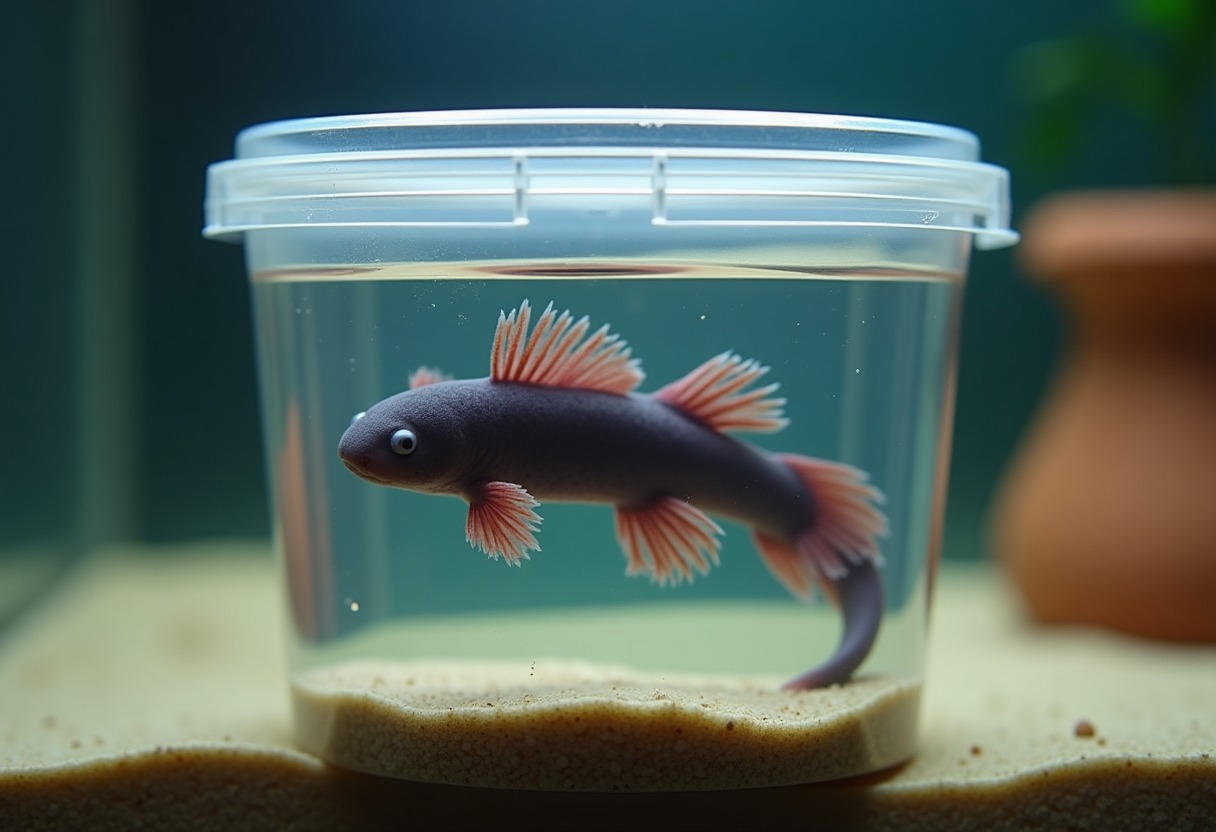
Step 2: Transfer to acclimation bucket
Gently net the axolotl and place it in your clean acclimation bucket. Pour the shipping water into the bucket with the axolotl. Keep water depth around 4-6 inches—enough to cover the axolotl comfortably but not so deep it's swimming.
Step 3: Set up drip line (60-90 minute drip)
Position the acclimation bucket below your tank. Create a siphon with airline tubing from your tank into the bucket. Use a valve or tie a loose knot in the tubing to control flow to about 2-4 drips per second. You want slow and steady.
Monitor the axolotl during the drip. Healthy acclimation behavior includes sitting calmly on the bottom, slight gill movement, and occasionally repositioning. Stress signals include rapid gill pumping, floating attempts, or thrashing. If you see stress, slow the drip rate even further.
Step 4: Water volume check
When the bucket water volume has doubled (roughly 60-90 minutes at proper drip rate), your axolotl has adjusted to a 50/50 mix of old and new water. Test the bucket water temperature and pH one final time. They should now match your tank readings closely.
Step 5: Final transfer
Use your fine mesh net to gently lift the axolotl. Support its entire body—don't let it dangle. Place it directly into your main tank in a low-flow area near a hide. Don't pour the acclimation water into your tank. That water may contain shipping contaminants, excess waste, or medications from the seller.
Acclimation Method Comparison
| Method | Duration | Stress Level | Best For | Risk Factors | |--------|----------|--------------|----------|--------------| | Drip acclimation | 60-90 min | Low | All axolotls, especially shipped animals | Requires setup time, monitoring | | Float and dump | 20-30 min | Medium-high | Local pickup with minimal parameter difference | pH shock, mineral imbalance common | | Direct transfer | Immediate | Severe | Emergency only (tank failure, toxic exposure) | High mortality risk, weeks of stress | | Double-drip method | 2-3 hours | Very low | Sensitive juveniles, large parameter gaps | Time-intensive, requires experience |
The drip method balances thoroughness with practicality. I've used float-and-dump for axolotls from local breeders when I verified parameters matched within 0.2 pH and 2°F, but I've never skipped drip acclimation for shipped animals. The shipping process itself stresses axolotls enough—don't compound it with parameter shock.
First 24 Hours: What to Expect and Monitor
Your axolotl will likely hide for 4-8 hours after introduction. This is normal. Don't attempt to feed on day one. The stress of transport and acclimation suppresses appetite, and uneaten food will spike ammonia in your new setup.
Keep lights off or very dim for the first 48 hours. Axolotls have sensitive eyes and need time to adjust to their new environment without additional light stress. See our Axolotl Tank Lighting Guide for long-term lighting setup.
Monitor these signs during the first day:
Healthy adjustment:
- Gradual exploration of tank (may take 6-12 hours to start)
- Calm breathing (gills move gently, not rapidly)
- Normal coloration matching the morph you purchased
- Occasional position changes
- Interest in surroundings by evening
Concerning signs:
- Floating at surface (gas bubble, stress, or temperature issue)
- Curled tail tip (stress indicator)
- Pale or dark stress spots
- Rapid gill pumping for more than 30 minutes
- Refusal to settle on substrate after 12 hours
If you see concerning signs, retest all water parameters immediately. Temperature and pH are the most common culprits. Don't change large amounts of water—small corrections over several hours prevent additional stress.
Day 2-7: Feeding Schedule and Parameter Monitoring
Wait 24-48 hours before offering food. When you do feed, start with a single small earthworm or bloodworm cube. Offer food with long tweezers or feeding tongs near the axolotl's face. If it doesn't eat within 3-5 minutes, remove the food and try again the next day.
Many new axolotls take 2-5 days to eat after acclimation. This is normal. If your axolotl hasn't eaten by day 7, review our Axolotl Stopped Eating troubleshooting guide.
Test water parameters daily for the first week:
- Ammonia (should stay 0 ppm)
- Nitrite (should stay 0 ppm)
- Nitrate (may rise slowly to 5-10 ppm)
- Temperature (maintain 60-64°F constantly)
- pH (should remain stable)
One new axolotl in a properly cycled 20+ gallon tank shouldn't cause parameter swings. If you see ammonia or nitrite above 0 ppm, your cycle wasn't complete. Perform 25% daily water changes and add beneficial bacteria supplement while the cycle establishes. See Axolotl Water Parameters Complete Guide for detailed testing protocols.
Advanced Acclimation for Special Situations
Drip acclimating multiple axolotls: Set up separate acclimation buckets for each animal. Never acclimate multiple axolotls in the same container—they may nip at each other under stress. Introduce them to the main tank simultaneously so no one establishes strong territory first.
Large temperature gaps (above 5°F): Extend float time to 30 minutes and slow drip rate to 1-2 drips per second. The full acclimation may take 2-3 hours. Don't rush this—temperature shock can cause permanent organ damage.
Quarantine tank acclimation: If you're placing your new axolotl in a quarantine tank first (recommended if you have existing axolotls), follow the same drip process. Quarantine for 30 days minimum, monitoring for any disease signs before introduction to your main display tank.
Post-shipping stress visible: If your axolotl arrives with stress coloration, curled gill filaments, or visible injuries from rough handling, extend acclimation time and consider adding Indian almond leaves to the acclimation bucket (not the main tank yet) for mild antibacterial properties. Monitor closely for the first week for any infection signs.
FAQ
How long should I acclimate my axolotl to its new tank?
Complete drip acclimation takes 60-90 minutes for standard situations. Float the container for 15 minutes to equalize temperature, then run a slow drip (2-4 drips per second) until the acclimation bucket volume doubles. If your parameter gaps are large (temperature difference above 4°F or pH difference above 0.5 units), extend to 2-3 hours with a slower drip rate. Never rush below 45 minutes total—the savings in time isn't worth the stress cost to your axolotl.
Can I skip drip acclimation if my axolotl came from a local breeder?
Only if you've tested both water sources and confirmed they match within 2°F temperature and 0.2 pH units. Even with local purchases, I still recommend at least a 30-minute modified acclimation with slower mixing. The transport stress alone (even a 20-minute car ride) benefits from gradual introduction to the new tank environment. The 60 minutes you spend on proper acclimation prevents weeks of potential health issues and stress-related problems.
Should I feed my axolotl immediately after introducing it to the tank?
Never feed on introduction day. Wait a minimum of 24 hours, preferably 48 hours, before offering food. The stress of shipping, handling, and parameter adjustment suppresses digestive function. Axolotls that eat during this stress period often regurgitate food, which creates ammonia spikes and additional stress. Start with a single small offering on day 2 or 3. If the axolotl doesn't eat within 5 minutes, remove the food and try again the next day. Most axolotls establish regular feeding patterns within 5-7 days of proper acclimation.
What temperature should the acclimation bucket be during the process?
The acclimation bucket starts at shipping/transport temperature and gradually moves toward your tank temperature (60-64°F) during the float phase. By the time you start the drip, temperatures should already match within 1°F. The drip process addresses pH and mineral content, not temperature—that happens during the float. If you're seeing temperature drift during the drip phase, your room is too warm or you're dripping too slowly. Check your main tank temperature control setup and consider where you're positioning the acclimation bucket.
Can I reuse the shipping water in my main tank after acclimation?
Never add shipping water to your main tank. That water contains concentrated waste products from transport (ammonia buildup is common in shipping bags), potential medications from the seller's setup, shipping bag chemicals, and stress hormones. Even crystal-clear shipping water has dissolved compounds you don't want in your established tank. Always net the axolotl out for final transfer and discard all acclimation water. This is one of the fastest ways to protect your carefully maintained water chemistry from contamination.
Proper acclimation sets the foundation for everything that follows—feeding success, stress resistance, long-term health, and your axolotl's willingness to thrive rather than just survive.
Some links on this page are affiliate links. We may earn a small commission if you purchase through them, at no extra cost to you.
As an Amazon Associate we earn from qualifying purchases. This article contains affiliate links; if you buy through them we may earn a small commission at no additional cost to you.